Poly-Classic® Column Installation Instructions - Turncraft.netPoly-Classic® Column. Installation Instructions:1.
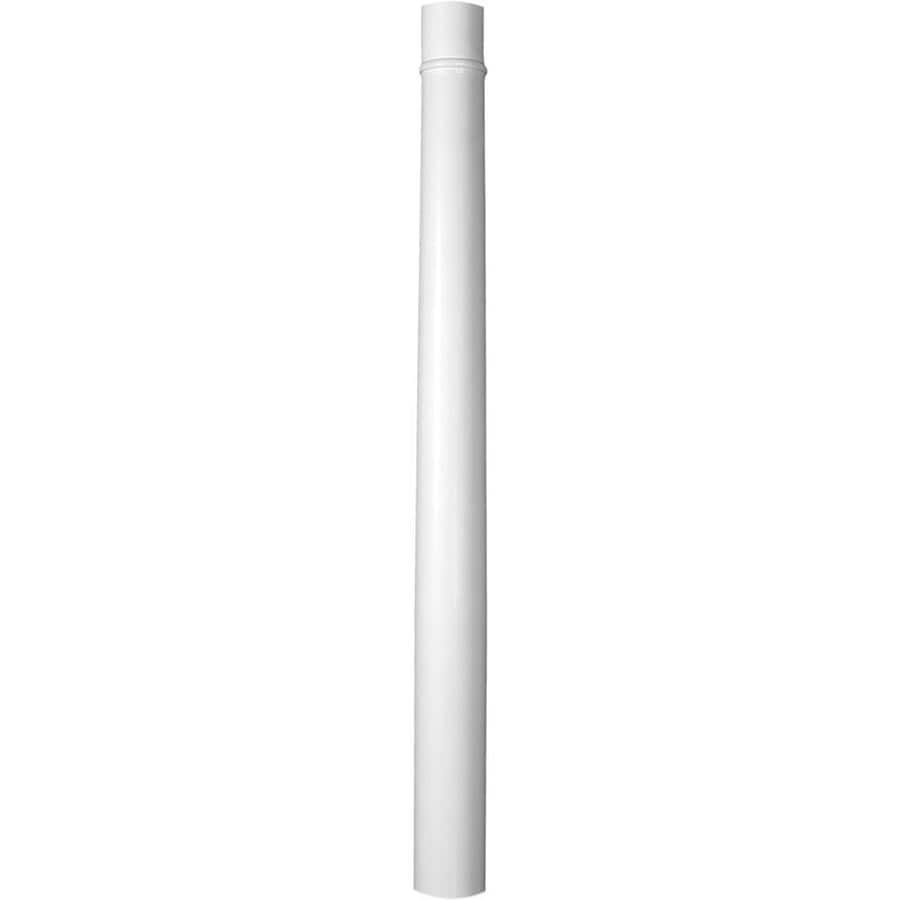
Measure the exact floor to ceiling height using a plumb to insure accuracy.2. Cut the bottom of the column shaft as needed to achieve the measurement taken in step 1. Use an abrasive blade.CAUTION: Because only the shaft is load bearing, its top and bottom edges must be level to achieve full, evencontact between load surfaces and shaft. Use a rasp to level as required. NOTE: All height adujstments must bemade from the bottom of the shaft.

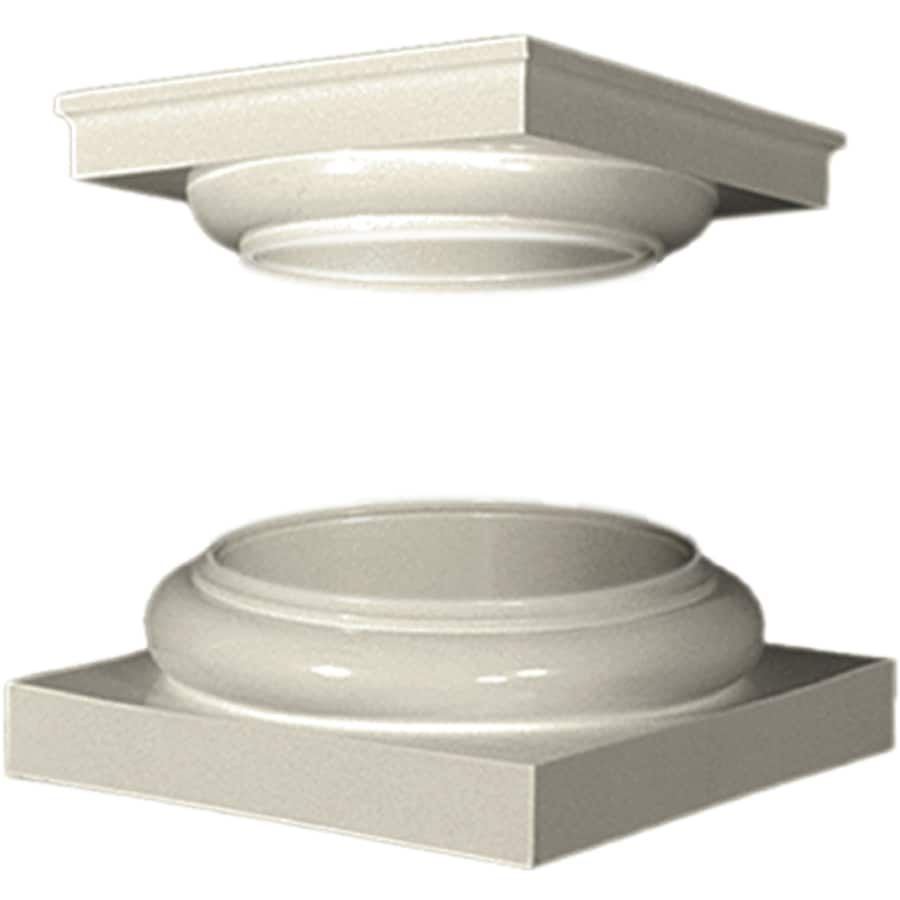
For the cap to fit correctly, the top of the shaft must be trimmed only enough toachieve level contact with load surfaces, or to achieve correct installation of decorative capitals.3. Slip one-piece cap and base onto column shaft (see figure 1). The two-piece cap and base are attached after theshaft is installed. If this column is installed where it could collect water or debris, the top of the column andcap MUST be flashed (covered) to prevent such collection. Use lead, copper, aluminum, galvanized, etc.flashing cut slightly larger than the cap, and fold the edges down over the cap after step 5.
It is notpermissible at any time to fill the interior of the column shaft with sand, concrete or any other material.4. If installation requires some method of securing the column in place before load is applied, use Poly-Classic InstallationKit #71760 (see figure 2) NOTE: Always drill clearance holes in columns and secure with through-bolts - DO NOT USESCREWS - and do not over-tighten.5. Apply standard construction adhesive to flashing (if used), top surface of cap and bottom surface of base; then tiploosely assembled column shaft into position, align flashing (if used), and lower load onto shaft to hold it in position.Align square part of cap with load surface (or flashing) above and push up against it to secure. Align square part of basewith load surface below cap and push down until it is secure.6. Caulk gaps between shaft and cap and base as desired.7. All round columns are factory sanded. All surfaces of cap and base, square columns, and the concave area at thebottom of the flutes on fluted columns require preparation by sanding with 80 to 100 grit sandpaper.
Sand toremove all glossy areas. Always follow the instructions of the paint manufacturer.A. To paint with oil base paint, remove all dust and dirt by thoroughly wiping column with cleaner compatible withyour chosen paint. Allow to dry completely.
Use a high quality oil base paint. Primer is not needed if the oil basepaint is the desired color.B. To paint with acrylic latex paint, we recommend using a high quality primer like Sherwin-Williams® PrepRite®Anchor-Bond and a topcoat like Sherwin-Williams® SuperPaint®. Remove all dust and dirt before painting bythoroughly cleaning with a cleaner like Simple Green® or isopropyl alcohol.

Allow to dry completely beforepriming.8. Columns may be split to cover lally columns, posts, etc. Using an abrasive Carborundum or carbide blade. Werecommend use of our Split Kit #72665 for reassembly - instructions are included with the kit. NOTE: Splitcolumns are not load bearing.Instructions for AttachingHandrails to TurncraftPoly-Classic® ColumnsRail to Column Kit1. Trace the curve of the column (a contour gauge is helpful) at the desired railheight.2. Copy the curve to the end of the rail which will be attached to the column.3.
Carefully cut the end of the rail to ensure an attractive, tight fit.4. Attach metal Angle Bracket to the bottom of railing using rust proof woodscrews.5. Mark desired spot on column shaft.6. Drill pilot hole in wall of column, slightly larger than toggle bolt.7.
Attach angle bracket to column wall with toggle bolt. The toggle bolt willspread any force applied over a wide area of the inside of the column. DoNot Over-tighten!(Note: the stabilizer screw is not included. It would be used to preventrotation of the rail. A hole the same size as your screw head is drilledthrough the column.
The screw is driven into the end of the rail. The screwhead slips into the hole in the column shaft, keeping the rail from turning.)Installing Poly-Classic® Columns withFiberglass Ornamental Capitals1. If desired, cut a centering block to fit insideof capital top.
Attach block to soffit.2. Trim top of column shaft (see Figure 1)Roman Corinthian and Temple ofWinds: trim above neck ringAll other capitals: trim below neck ring(top of fillet)3.
Measure opening where the column is to beinstalled. INCLUDE HEIGHT OF CAPITALWHEN CALCULATING COLUMN LENGTH.Measure column shaft and trim the bottom ofthe shaft to fit required opening.4.
Using vinyl shims, shim the capital flange sothat the capital is centered on the column.Attach shims to the flange with constructionadhesive.5. Apply construction adhesive to the top of thecolumn shaft. Set capital in place. Removeexcess adhesive immediately.6. Pre-drill clearance holes through shaft largerthan screw diameter, then countersink.Attach capital flange to column usingnon-corrosive wood screws.
How To Install Column Cap And Base
Do notovertighten screws! This process will alsohelp to center cap in uneven shafts.7. Raise soffit and slide assembled column intoplace.
Flashing should be installed overcapital in exterior installations where watercollection would be a problem.8. Attach column as required, and caulk allseams and fill all screw holes. Turncraft.net © All Rights Reserved.